
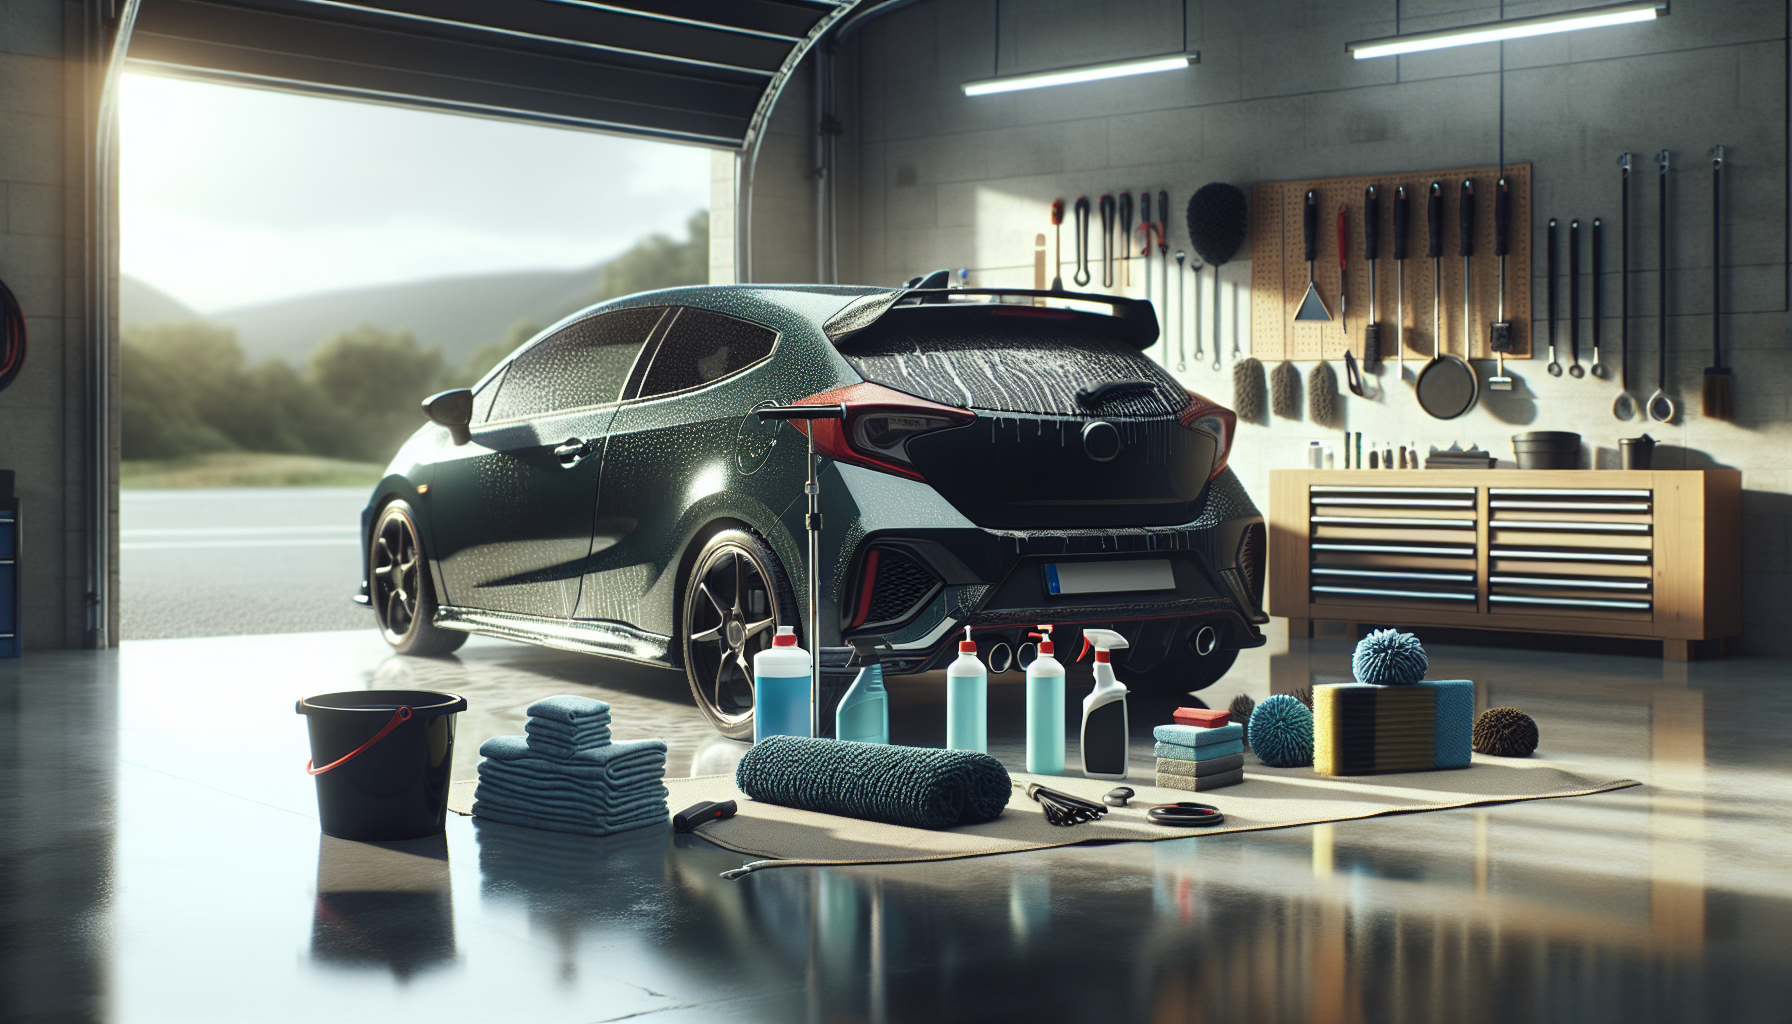
Putting together a proper home car detailing kit is one of the most rewarding investments a car enthusiast can make – but it is also one of the easiest ways to waste money buying the wrong products in the wrong order. This guide cuts through the noise and lays out exactly what you need, why you need it, and how each element fits into a logical detailing process.
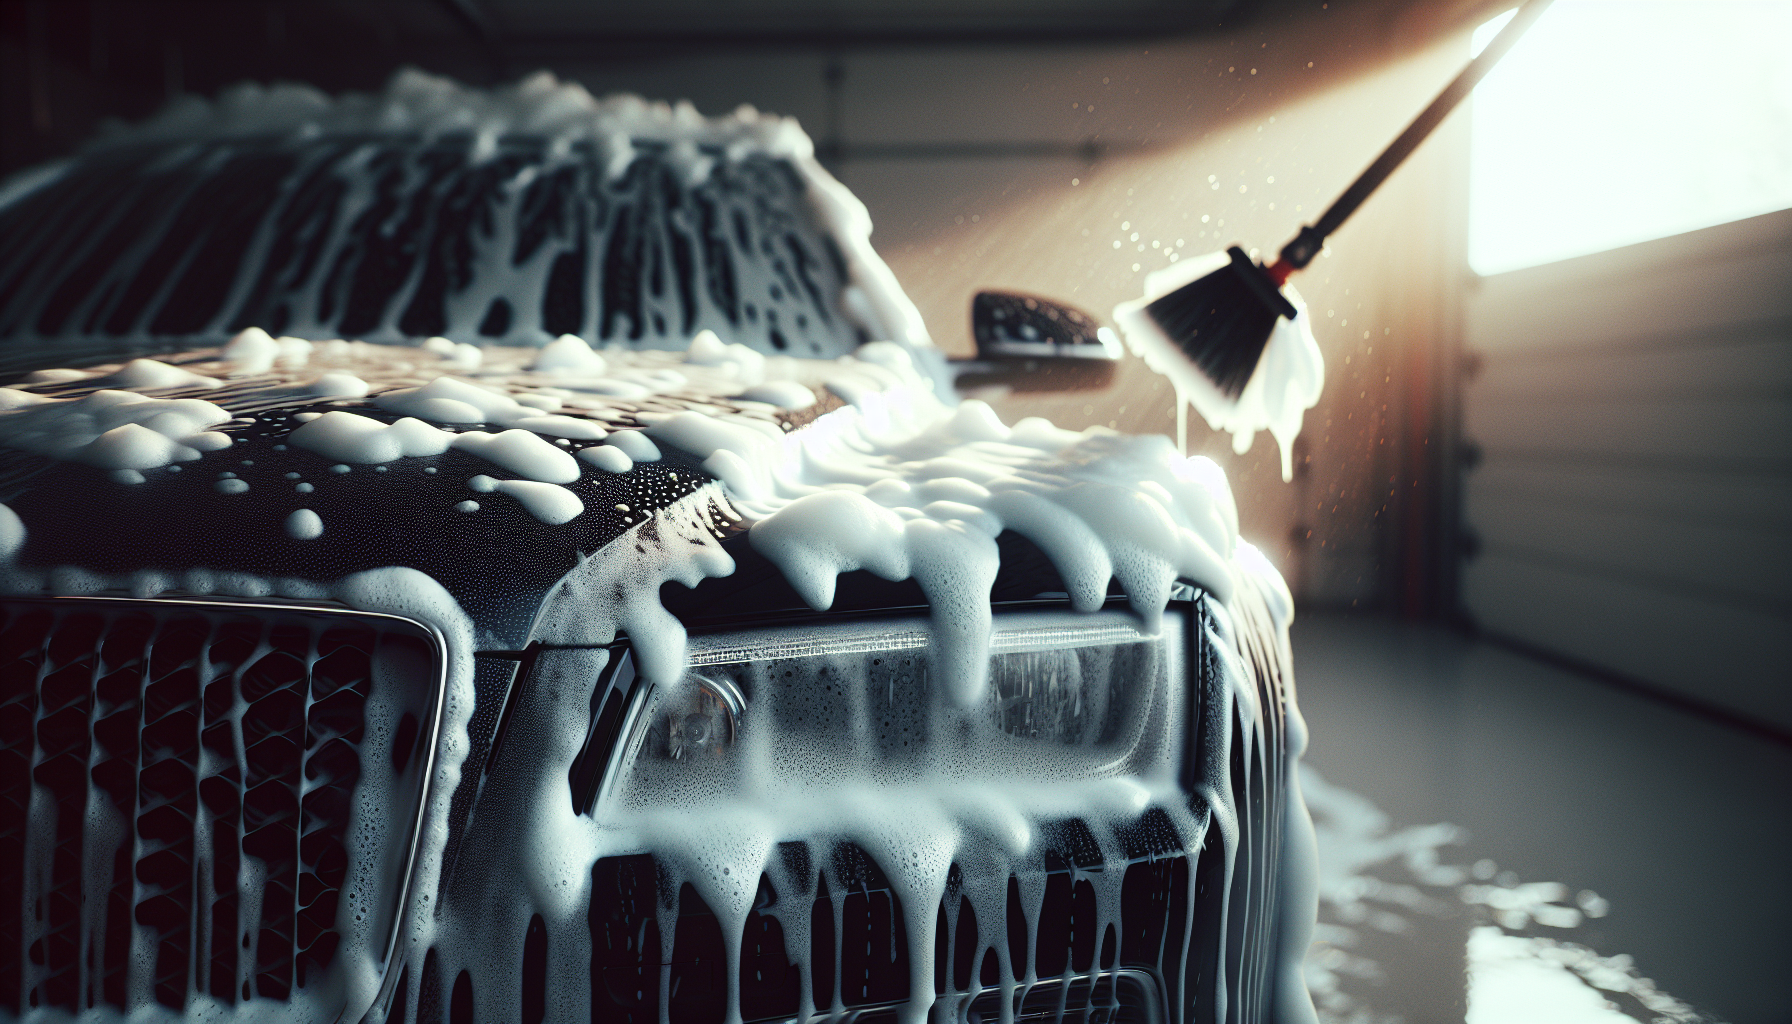
Start With the Wash Stage: Pressure Washers and Snow Foam
The foundation of any home car detailing kit is a safe, effective wash process. Scrubbing a dry or lightly rinsed car with a sponge is one of the fastest ways to introduce swirl marks into your paintwork, so investing in the right equipment here pays dividends long before you ever open a tin of wax.
A pressure washer in the 100-130 bar range is the sweet spot for home use. Units below that threshold struggle to shift road grime effectively, while anything significantly higher risks damaging rubber seals and window trim if used carelessly. The Karcher K4 and K5 ranges are a sensible starting point, offering genuine build quality without professional-grade pricing.
Pair your pressure washer with a quality snow foam lance. Snow foam is a thick, alkaline pre-wash foam that dwells on the surface and loosens bonded road dirt before you touch the car with a mitt. This contact-free pre-soak stage is not optional if you care about swirl-free paint. Look for a lance with an adjustable dilution ratio – the Mjjc Foam Cannon Pro has become a favourite for its consistency and wide compatibility with different machines.
For the contact wash, a pH-neutral car shampoo and a quality microfibre wash mitt are non-negotiable. pH-neutral formulas like those from CarPro or Gtechniq will not strip existing wax or ceramic protection, meaning your protective layers last longer. Use the two-bucket method – one bucket for clean soapy water, one for rinsing your mitt – to minimise the chance of dragging grit across panels.
Decontamination: The Step Most People Skip
Washing removes loose dirt, but it does not remove iron fallout, tar, or embedded rail dust. These contaminants bond chemically and physically with your clear coat and will prevent polishes and protection from bonding properly if left in place.
A good decontamination process uses two products. An iron remover – often called a fallout remover – is sprayed onto clean, wet paintwork and changes colour (usually turning purple) as it reacts with ferrous particles. Brands like Bilt Hamber Korrosol and CarPro Iron X are highly regarded for their effectiveness. After rinsing, follow up with a tar and adhesive remover on a microfibre cloth to clear any remaining sticky deposits.
Once the paint is chemically clean, use a clay bar or synthetic clay mitt to decontaminate the surface mechanically. A properly clayed panel feels like glass under your palm – the difference is immediately obvious. This step is only needed a couple of times per year and prepares the surface perfectly for polishing or protection.
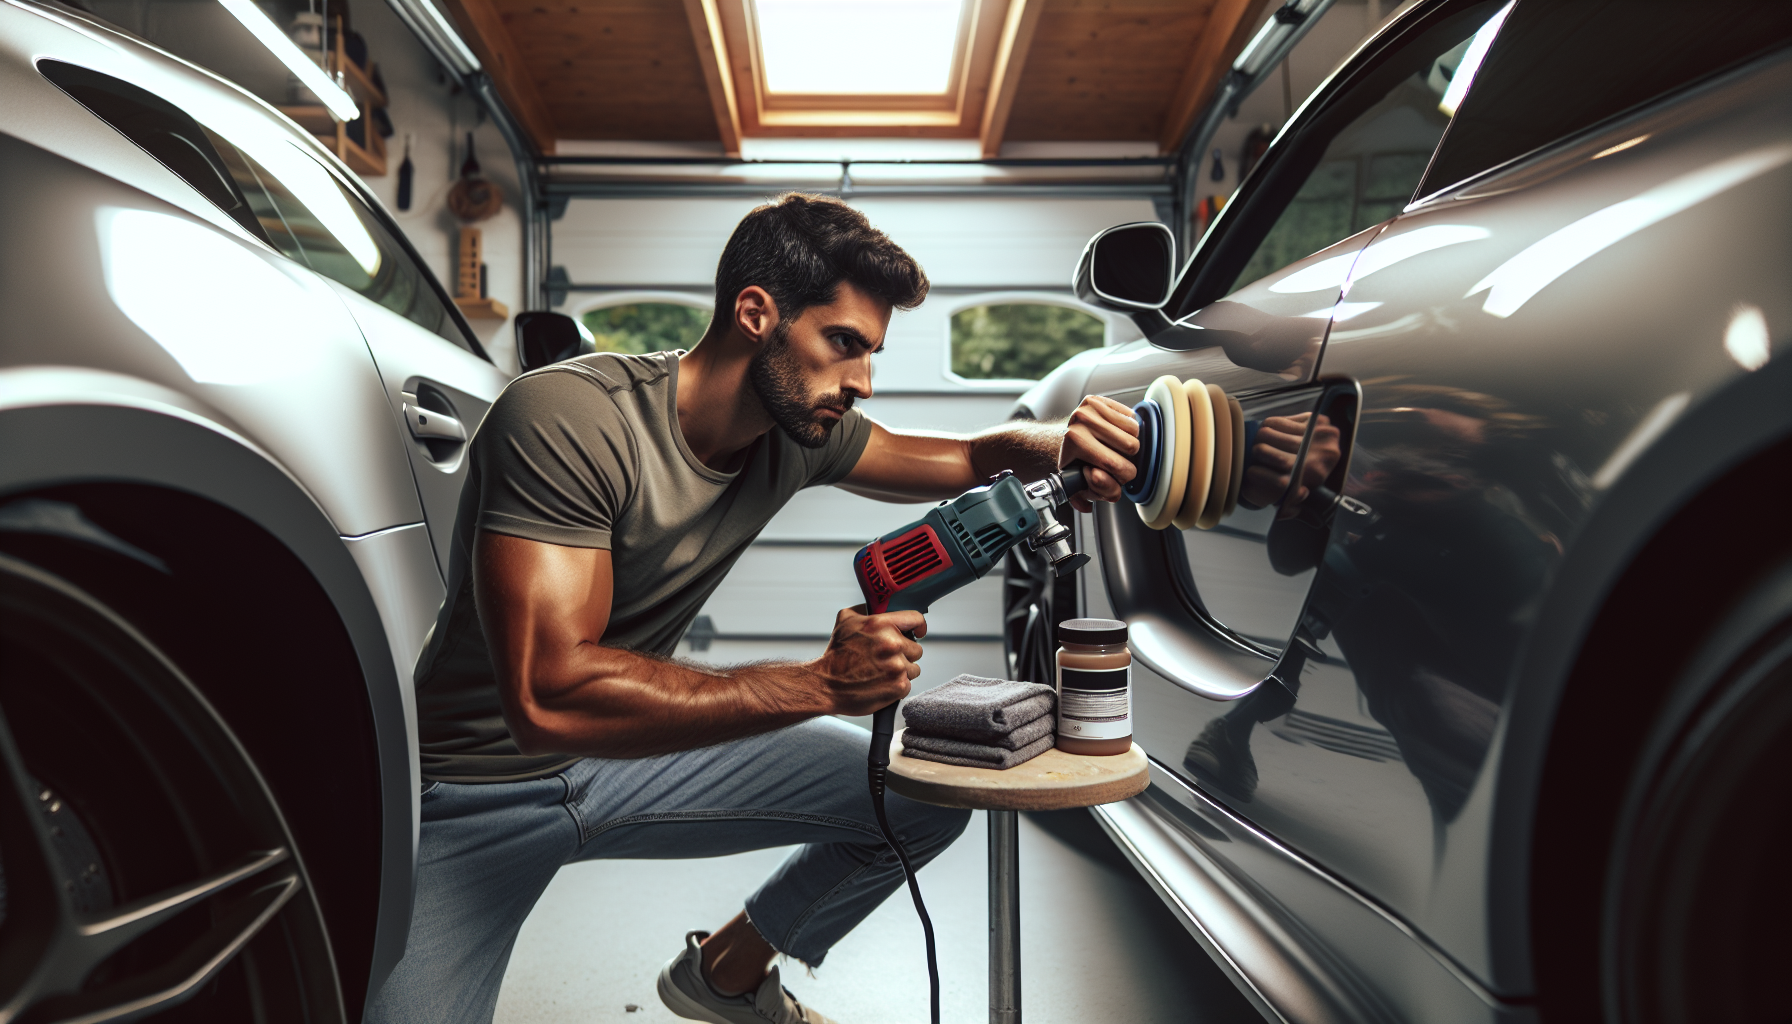
Machine Polishers: Getting Paint Correction Right at Home
A machine polisher is the single biggest upgrade you can make to a home car detailing kit if you want to remove swirl marks, light scratches, and oxidation. Hand polishing is laborious and rarely achieves the same level of correction.
For beginners, a dual-action (DA) random orbital polisher is the safe starting point. Machines like the Rupes LHR 15 Mark III or the Flex XCE 10-8 125 are difficult to use incorrectly – they stall under too much pressure rather than burning through clear coat. A rotary polisher cuts faster but demands more skill and is better reserved for experienced detailers or particularly stubborn defects.
Pads matter as much as the machine. Use a light cutting foam pad with a medium-grade compound for single-stage paint correction on most modern cars, then finish with a softer polishing pad and a fine finishing polish to refine the surface before applying protection. Labocosmetica and Menzerna both produce reliable polish ranges with predictable cut and finish characteristics.
Paint Protection: Wax, Sealant or Ceramic Spray?
The final stage of a proper home car detailing kit is protection – this is what keeps your hard work intact between details. The three main options each suit different needs.
Carnauba wax gives a warm, deep gloss that many enthusiasts consider unmatched in visual character. It is easy to apply and remove, but typically lasts only four to eight weeks. Products like Swissvax Concorso or Bilt Hamber Double Speed Wax represent the traditional approach done properly.
Paint sealants are synthetic polymer-based products that bond more durably than wax and can last six months or longer. They are generally more hydrophobic and less susceptible to heat degradation. Wolfgang Deep Gloss Paint Sealant is a long-standing favourite among enthusiasts for its combination of durability and ease of application.
Ceramic spray coatings such as CarPro HydrO2 or Gyeon Q2M WetCoat sit between a traditional sealant and a proper ceramic coating in terms of durability and performance. They can be applied to a wet car after washing, offer genuine water-beading performance, and last several months. They represent excellent value in a well-rounded home car detailing kit as a maintenance spray between more thorough details.
Building Your Kit Without Wasting Money
The temptation when starting out is to buy everything at once. A smarter approach is to build the kit in stages, starting with a solid wash setup and one good protection product, then adding a machine polisher once you understand the basics. Buying cheap microfibre cloths is a false economy – poor quality fibres can introduce the very scratches you are trying to remove. Stock up on quality 380 GSM or higher cloths and dedicate specific ones to specific tasks.
Storage matters too. Keep chemicals away from frost and direct sunlight, and keep your wash mitts and cloths clean between uses. A well-maintained home car detailing kit will serve you for years and produce results that rival professional valet centres – often better, because you are applying proper care and attention to your own vehicle.
Home car detailing kit FAQs
What do I need in a basic home car detailing kit for a beginner?
A beginner home car detailing kit should include a pressure washer, snow foam lance, pH-neutral shampoo, two wash buckets, a quality microfibre wash mitt, an iron fallout remover, a clay bar, and a paint sealant or ceramic spray for protection. This covers the core wash, decontamination, and protection stages without requiring any machine polishing equipment, keeping the learning curve manageable while still delivering professional-level results.
Is a machine polisher worth it for home detailing?
Yes, a dual-action machine polisher is absolutely worth adding to a home car detailing kit if you want to remove swirl marks and light scratches. Hand polishing with a pad and compound rarely achieves the same level of correction and takes considerably more effort. A DA polisher like the Rupes LHR 15 is forgiving enough for beginners and produces results that transform the appearance of dull or swirl-marked paintwork.
How long does ceramic spray protection last compared to wax?
Ceramic spray coatings typically last between two and six months depending on the product and environmental conditions, whereas traditional carnauba wax usually lasts four to eight weeks. This makes ceramic sprays a more practical everyday protection option in a home car detailing kit, particularly if the car is driven regularly in all weathers. They also tend to produce stronger water-beading behaviour than wax.
Do I really need to decontaminate my car before polishing?
Yes, skipping decontamination before polishing is a common mistake. Iron fallout and bonded tar deposits sit on top of the clear coat and, if left in place, will be ground across the surface during polishing, potentially making scratches worse. An iron remover followed by a clay bar treatment takes around 30 to 45 minutes on an average-sized car and ensures the surface is truly clean before any abrasive work begins.
What pressure washer bar rating is best for washing cars at home?
For a home car detailing kit, a pressure washer rated between 100 and 130 bar is ideal. This range is powerful enough to shift road grime and rinse snow foam efficiently, but unlikely to cause damage to rubber seals, window trim, or painted surfaces when used at a sensible distance of around 30 to 40 centimetres. Domestic machines in this range from brands like Karcher offer a good balance of performance and longevity for regular use.